How to paint wooden windows and door frames?
The changing climate in the UK puts a strain on exterior sash windows and doors paintwork.
That’s why it’s important to protect the woodwork by painting sash window frames regularly to keep them in good condition. If your sash windows are rotten and require restoration and double glazing retrofit, give our sash window Hertfordshire team a call.
If you want to paint your doors and frames, take the weather into account. Do not paint in direct sunlight.
Don’t paint windows when it’s raining or about to start rating either.

Step 1 – Clean and degrease the frames
Painting exterior doors and sash windows require good preparation.
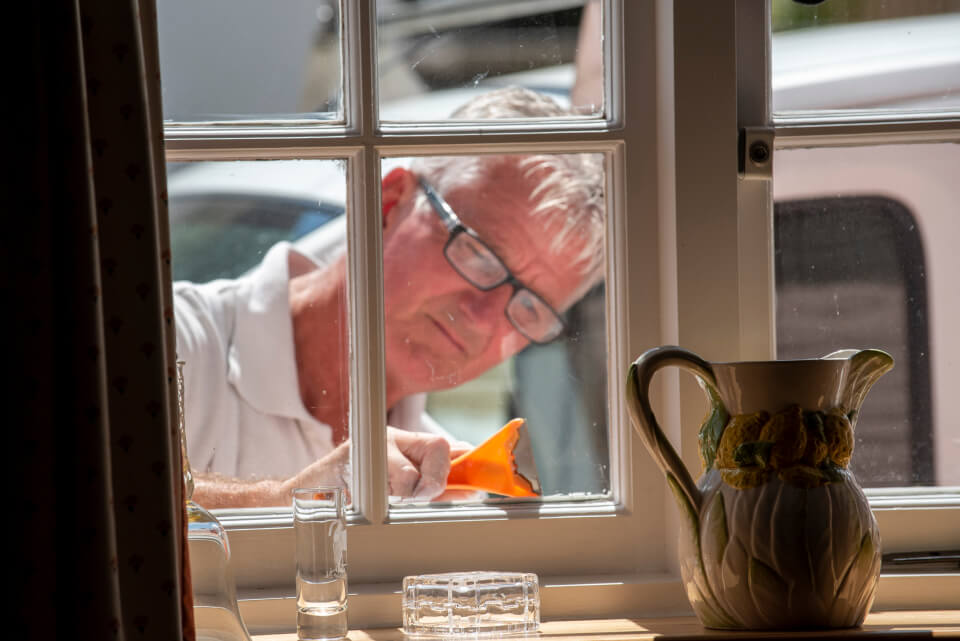
First of all, they need to be cleaned thoroughly. Clean the frame with a damp cloth. Then repeat the operation with a degreaser.

Step 2 – Removing flaking paint
Old paint can be removed with a heat gun, scraper, sander or paint stripper.
A heat gun is the best option for DIYers that makes the work much easier. It also reduces the risk of damaging the wood and it is cheaper to buy a heat gun than an expensive orbital sander and dust extractor.

Step 3 – Sanding the woodwork
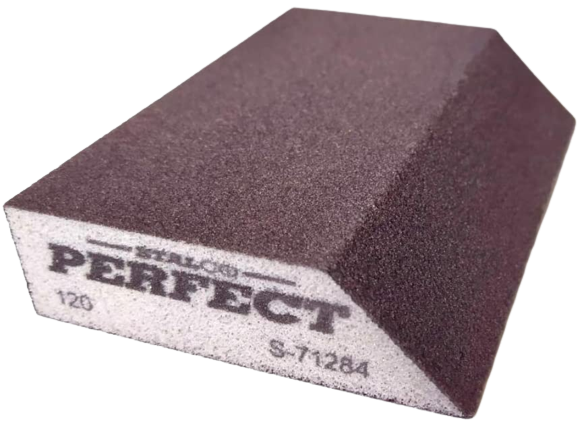
Sand the entire frame. Use a sanding block (120 grain) to smooth the surface as much as possible. Then clean the frame with a soft brush and a damp cloth.
Tip!
You can also use a palm sander to speed up your work.

Step 4 – Apply masking tape
Apply blue masking tape to avoid getting paint on the glass. Use a knife to carefully trim the edges near the frame.
The masking tape should not be left on the glass for more than two days. If you wait longer, the masking tape may be difficult to remove or it will leave adhesive on the glass.

Step 5 – Apply primer
Start by applying a coat of primer with a round brush to the wooden frame. This ensures better adhesion to the finishing paint.
In addition, the primer increases the longevity of the final result and reduces the frequency of repainting.
Step 6 – Removing unevenness

Wait for the primer to dry and then smooth out uneven surfaces with a quick-fill plaster in 1 mm layers to prevent the plaster from shrinking.
To apply the plaster, use a narrow and a wide knife. Put a small reserve of plaster on the wide knife and apply it to the wall with the narrow plastering knife. Make sure that the plaster knives are clean and in good condition. Lay the plaster knife perpendicular to the wall. Apply the plaster smoothly over the irregularities. Make sure that the plaster only covers the area to be filled, without spilling over the frame. Before applying a new coat of plaster, wait for the previous coat to dry completely.
Step 7 – Repainting the frames
Apply an extra coat of primer to the coated areas and allow it to dry completely.
Lightly sand the frame with fine sandpaper (320 grain). Remove dust with a brush and a damp cloth.
Step 8 – Painting the woodwork
Mix the paint tin with paint well before use and let it warm a bit if you start in the cold morning.
Dip the brush several times into the paint, wringing it out each time on the edge of the pot, until it is saturated with paint but not dripping.
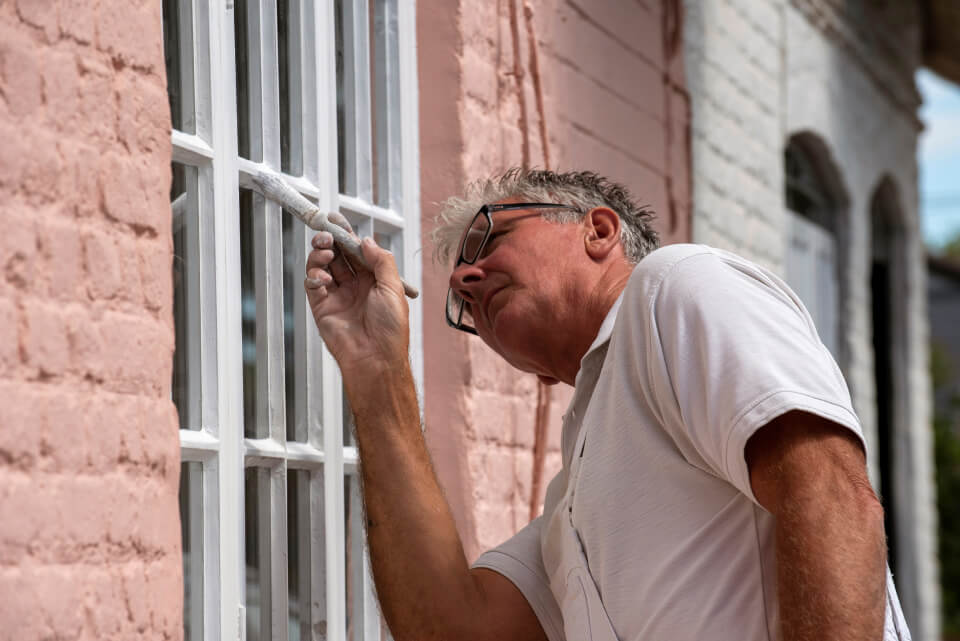
Apply the first coat of paint with a round lacquer brush, starting with the corners and edges of the windows.
Then apply the paint to the long parts of the frame. Stretch the paint in large strokes along the length of the frame. Then paint large areas, such as wooden shutters, with a 10 cm paint roller.
For a good finish, run a narrow roller over the painted surface. This helps to even out the paint.
For maximum coverage, apply at least two coats of paint.
