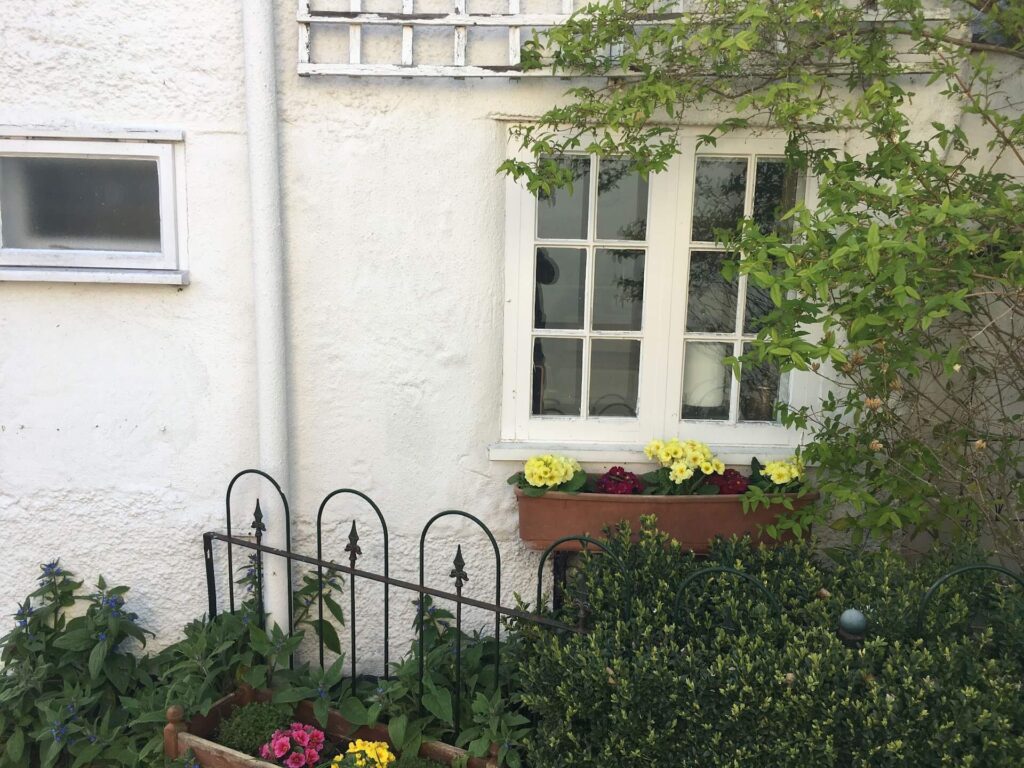
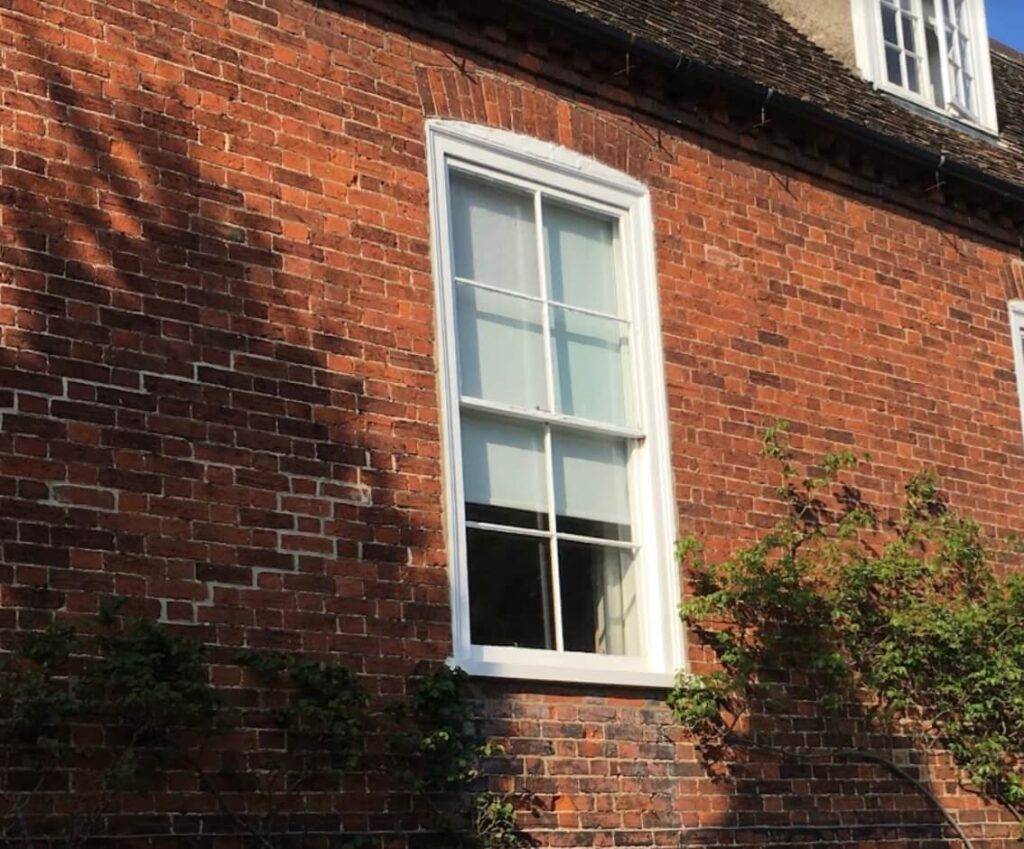
Rotten sash windows: Replace or restore sash windows?
Rotten sash window frames and peeling paint can look awful, but you can often save old timber windows from replacement.
Just follow our quick guide to rotten windows repair.
Repairing rotten is often a more difficult task than it looks. If the window frame structure still has solid wood, there is a good chance that the rest can be saved.
Step 1 – Identifying rotten part of the window frame
Identifying the rotten wood isn’t always easy to spot, especially underneath a layer of paint. However, rotting can slowly erode the wood beneath the surface. The first and easiest way to check for rot is to push it in.
If it is soft to the touch – the rot has probably present under the layer of paint. Even if it has not yet peeled off, it’s time to think about repairing the wood. In the case of stained wood, another sign is a darkening of the wood in the affected areas.
If you are unsure or want to know how deeply the rot has penetrated the window frame, try sticking a thin finishing knife or even a pen into the wood. If it slips through very easily, the wood is rotten and an immediate restoration course should be started.
Lowers parts of the window frame are more likely to be rotten, as they are constantly exposed to moisture so check them first.
Step 2 – Can rotten windows be saved?
First, you must assess the extent of the decay and the effectiveness of the repair plan, otherwise, if windows are too rotten, they may have to be completely replaced.
To do this, all rotten wood must be removed in order to determine how much can be repaired. Areas that have rotted through will easily fall apart in your hands. Then you need to scrape out the rest – use coarse sandpaper or wire brush to remove all the rotted wood and scrape out dust particles and flakes of old paint.
How much wood is left?
Is the remaining wood still structurally sound (even if slightly damaged)? If it is a window frame, for example, is it strong enough to withstand the window glass? If the answer is yes, move on to repairing the wood. If the answer is no, the wooden window needs to be replaced.
Step 3 – Remove rotten parts of the window and sand the surface
Once you have established that the wood can be repaired, you should continue sanding – one centimetre deeper than the affected area – in order to remove all traces of rot. Make sure the wood is properly dried before you putty the wood. (If you are in a hurry, you can use a hair dryer to dry it). If the remaining wood has been painted or stained, it makes sense to sand it all down because you will need to repaint or stain the wood anyway.
Step 4 – Wood filler or two components of epoxy wood filler
The next step in the renovation process involves the use of wood filler.
Choosing the right wood filler depends on the extent of rot on the wood you want to repair. If the affected areas are fairly small – about the size of the head of a nail – a standard wood putty will do. If the affected area is larger, you will need a heavy-duty two-part epoxy wood putty.
Whatever you’re working with, use a trowel to shape the putty into the shape of the wood you’re filling. This is the most important stage of any wood repair work – make sure the wood putty is properly cured and protrudes slightly above the height of the wood, as you will need to sand this area afterwards.
Step 5 Sanding and painting the repaired windows
The final stage of the timber windows renovation work is to protect the repaired wood to prevent renewed rot.
Sand the area with filler to the level of the existing wood first with medium-grit sandpaper, then switch to fine-grit sandpaper.
Once the area is sanded flush with the rest of the wood, it’s time to prime and paint or stain the window.
The sanded area should be smooth to the touch and look like natural wood. Clean the area of dust and treat it like normal wood – first apply a wood preservative, especially if it is the exterior side of the window, then cover it with several coats of stain or primer, followed by a covering coat of paint.