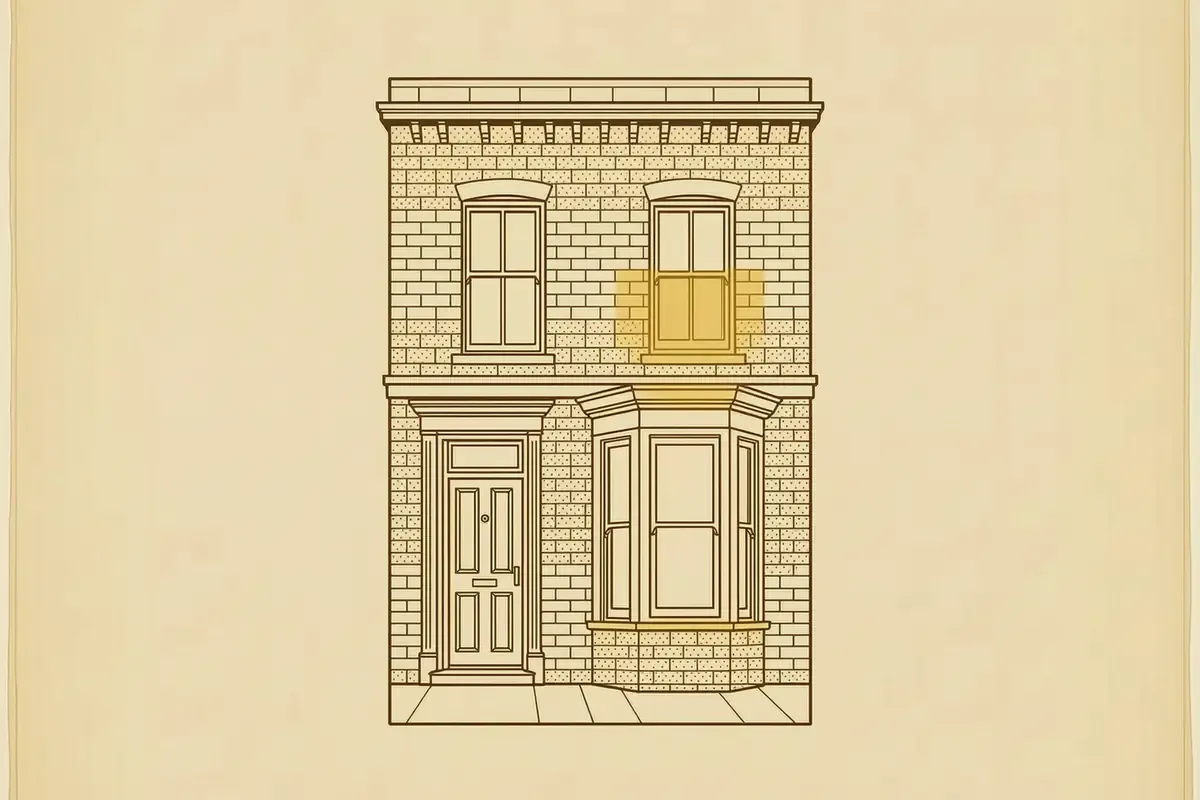
The first cold morning of autumn is when most people notice a sash window draught: a thin stream of air at the meeting rail, a rattle in the wind, a room that never quite warms. The instinct is to reach for a roll of stick-on foam draught excluder. On a sash window that is usually money wasted, because the parts that leak are the parts that slide, and a foam strip cannot survive being slid over.
A sash window loses air at the gaps around the two moving sashes, not through the glass. Sealing those gaps properly is a joiner’s job of routing a brush pile into the beads. The plain rule: find where the air moves, repair the window, then seal the sliding faces with brush pile and the meeting faces with a compression seal.
Where the draughts come from
A box sash has two sashes that slide past one another in a frame, and every gap between a moving part and a fixed part is a possible leak. The four that matter are the meeting rail, where the top of the lower sash meets the bottom of the upper sash; the stiles, the vertical edges of each sash running against the parting and staff beads; and the bottom rail, where the lower sash sits down onto the sill.
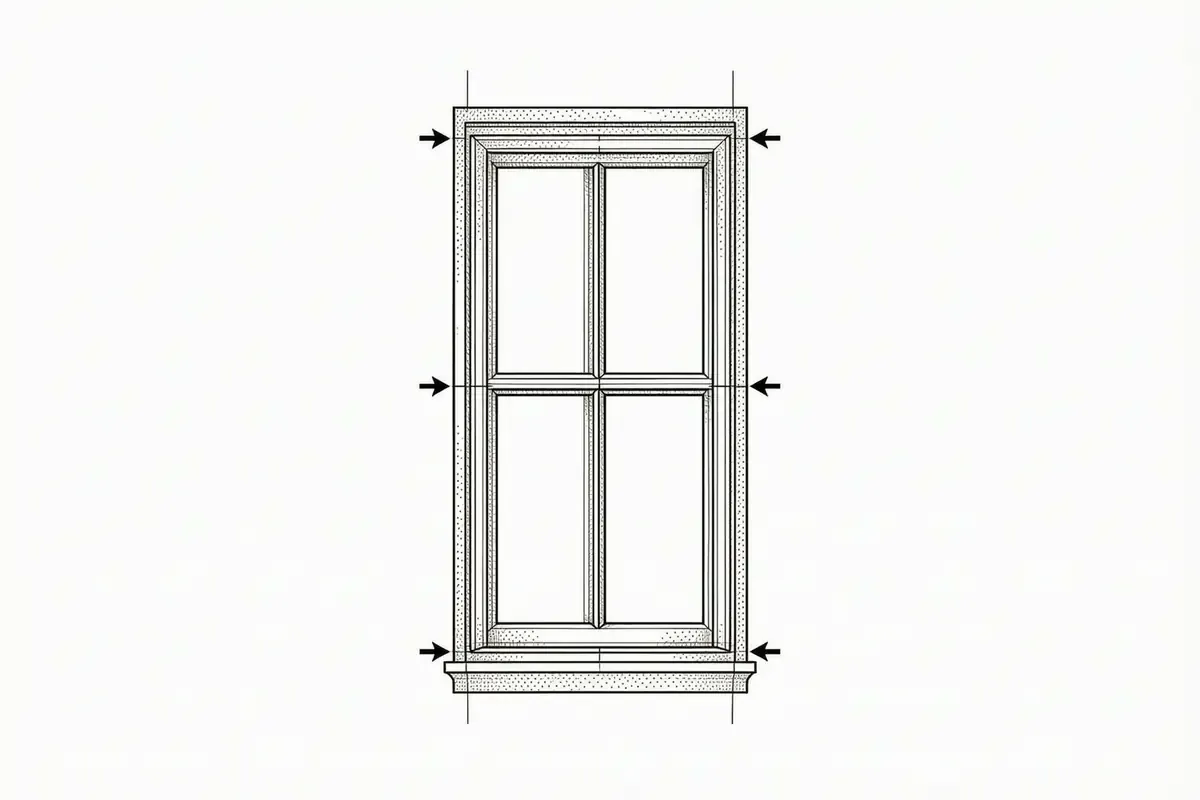
The meeting rail is the one people feel first, because it is at face height and the gap runs the full width of the window. The stiles leak more quietly, all the way up the sides, and the bottom rail lets air in where the sash meets the sill. A window that rattles in the wind is telling you the running gaps have opened up, which is a bead problem as much as a seal problem.
You can find the gaps before you spend anything. On a cold, still day, run the back of a damp hand slowly along each edge of the closed window — the skin finds a draught the eye misses. A thin strip of paper trapped between the sash and the bead will tell you where the gap is wide enough to slip a seal into, and a candle flame held an inch off the glass will flicker where air is moving through the frame rather than simply cold radiating off the pane. That last distinction matters: a cold window is not the same as a draughty one, and only one of them is fixed by sealing.
Why a stick-on draught excluder fails on a sash
Stick-on strips are made for casement windows, where a leaf closes against a fixed frame and the strip is only ever compressed. A sash window is different: the sashes slide, so any strip stuck to a stile or a bead gets dragged and scraped every time the window is opened. Foam strip crushes flat and peels away within weeks; a stick-on brush strip fares little better, because the adhesive is asked to hold against a sideways pull it was never designed for.

Photo: 37 Parliament St sash windows by A.-K. D., CC BY-SA 4.0 via Wikimedia Commons; resized.
The Energy Saving Trust is plain on this: on a sliding sash, foam strips do not work well, and brush strips are the right choice. The difference is that a proper brush pile is not stuck to the surface at all — it is fitted into a groove routed into the bead, so the pile wipes against the sash as it slides and nothing is asked to peel.
The two seals a sash needs
A sash window leaks in two different ways and wants two different seals. Where the parts slide past one another — the stiles against the beads, and the meeting rails as they pass — the seal is a wiper, a brush pile that flexes to bridge the gap and springs back. Where two faces close together and stay — the bottom rail onto the sill, the top rail up to the head, and the meeting rail once shut — the seal is a compression profile that squashes to fill the joint.
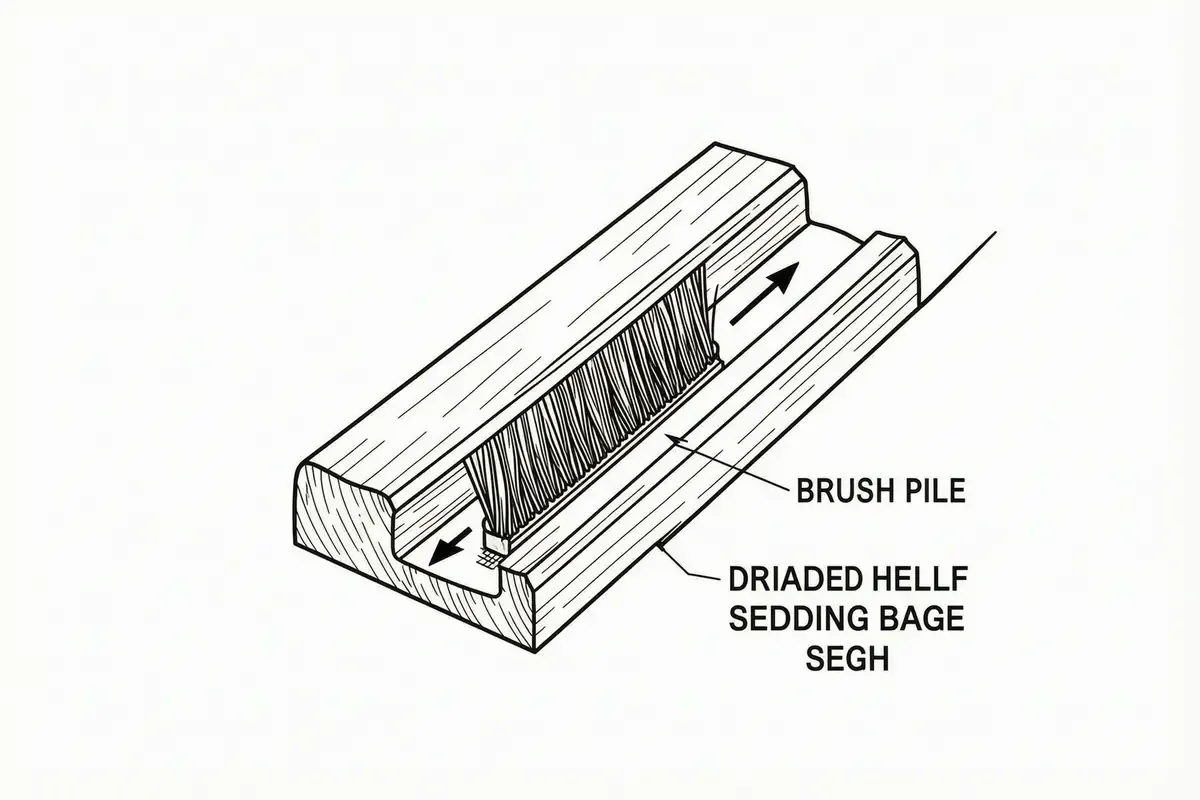
The brush pile has to be sized to the gap it bridges. Pile is measured by height, and the height follows the gap: a 4 mm pile suits a gap of about 1.5 to 3 mm, a 6 mm pile a gap of 3 to 5 mm, an 8 mm pile a gap of 4 to 7 mm, and an 11.5 mm pile a gap of 6 to 8.5 mm. A pile that is too short leaves the draught; one too tall jams the sash and wears out fast. A period window with a gap wider than about 8.5 mm is usually better dealt with by replacing the worn bead than by chasing an ever-taller pile. That is why the job starts with measuring, not with buying a roll of seal.
The compression seal is the quieter half of the job. It sits in a carrier routed into the bottom rail and the top rail, so that when the sash closes the profile squashes against the sill and the head and the window shuts tight. The two seals work together: the brush pile lets the sash slide freely while it wipes, and the compression seal only has to do its work when the window is closed and the faces are still. A window sealed with brush pile alone still leaks at the sill and the head; one sealed with compression alone still leaks up the sides.
The order of work
Draught proofing a sash runs in a fixed order, because the seal is the last thing that goes in, not the first. We work like this:
- Survey the window: measure the gaps at the stiles, meeting rail and bottom rail, and check the cords, the beads and the timber for wear.
- Free the sashes: cut the paint from the running surfaces, ease anything stuck, and never force a sash that will not move.
- Repair the timber first: splice rotten bottom rails and sills, renew worn or distorted beads, so the seal goes into a frame that will outlast it.
- Route the carriers: cut a groove into the parting and staff beads, or fit new beads that carry the seal, and bed the brush pile at the right height for each gap.
- Fit the compression seal where the faces meet, so the closed window seals at the sill, the head and the meeting rail.
- Rebalance and decorate: check the sashes against their weights, then paint in thin coats that keep the mouldings sharp and the seals free.
On a Hertfordshire street the windows are usually worth the effort. A Georgian six-over-six in Hertford or Ware, a Victorian two-over-two terrace in St Albans, an Edwardian bay in Harpenden — these are the windows the county’s older houses were built around, and a routed seal lets them keep their thin glazing bars and their original glass while the room stops losing heat through the gaps. The alternative, replacing the window, costs far more and throws away the character the street was built with. Our guide to replacing or restoring rotten sash windows covers the repair side of the same decision.
What draught proofing does not fix
Draught proofing stops air moving through the gaps, but it does not stop heat passing through a single pane of glass. A sash that has dropped out of level at the meeting rail needs its beads repositioned or the worn grooves filled before any seal will close the gap; in severe cases the sashes are re-edged. A gap that has opened up above the sill can be a sign of something worse than a worn seal — wall movement or a failed lintel — and that needs looking at, not sealing over.
Nor is sealing the same as double glazing. Draught proofing is the cheapest and most effective first step, but it will not turn a single-glazed sash into a modern window; if a second pane is wanted, our guide to secondary glazing sets out when that is the better spend. If the room has a combustion appliance, leave the ventilation alone: a room with an open fire or a flueless gas heater needs its airflow, and sealing it shut is unsafe. On those windows we seal the frame and keep the background ventilation the building relies on.
Frequently asked questions
Will draught proofing a sash window save me money on heating?
Yes, but not as much as some adverts claim. On the Energy Saving Trust’s figures, sealing windows, floors and doors together is worth around £55 a year in Great Britain — the whole house, never a window on its own. The same source puts a professional draught-proofing job at around £250 for a whole house, which is what makes a stick-on strip look cheap until you learn it will not survive a sliding sash.
Can I draught proof a sash window myself?
You can fit a temporary stick-on strip, but on a sliding sash it will not last, because the sliding faces drag it off. The permanent fix — routing a brush pile into the beads and fitting a compression seal — is a joiner’s job, and doing it badly can jam a sash or ruin a period bead. It is cheap and quick work for a joiner, and the routing is the only skilled part, but it is not a beginner’s task. Most people are better calling someone for the routed system; see our draught proofing service.
Does draught proofing need planning permission?
No. Sealing an existing window is repair and maintenance, and it changes nothing about how the window looks from the street, so it needs no permission in a conservation area any more than anywhere else. On a listed building a self-adhesive strip needs no consent, though routing a groove into the frame is worth checking with the council first.
Will draught proofing make the room stuffy?
Not if it is done with ventilation in mind. The Energy Saving Trust warns against blocking vents, chimneys and the airflow that open fires and flueless gas appliances need, and against over-sealing a house that already has no trickle vents. We seal the window, not the room, and leave combustion rooms to specialist advice.